Getting your bicycle ready for spring and beyond.
May 12, 2017
Before your first ride of the year make sure that your bike is running smoothly and safely.
Unless you brave all weathers over the winter and autumn on your cycle it’s now time to get it out of storage and ready to ride.
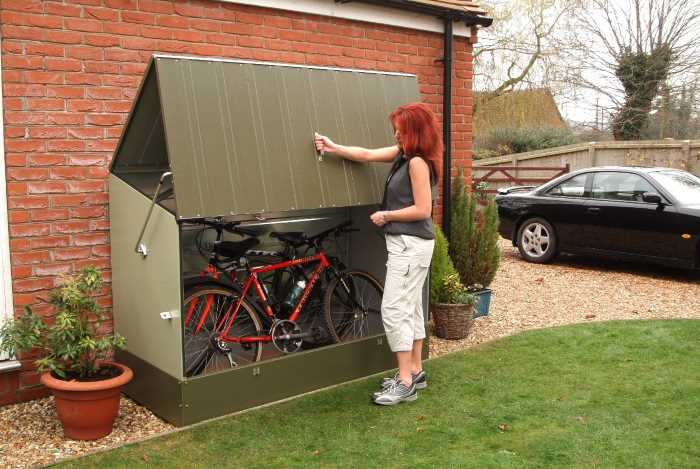
A great place to store your bike over winter – www.protectacycle.co.uk
Whilst fairly straightforward to check over yourself it is always sensible to get a local cycle shop to give it a once over if you are still unsure about anything.
Many shops now offer a checking service and will make any necessary adjustments to cables, brakes, chain and gears as well as give further advice if more work is necessary; this will typically cost around £50 but is money well spent.
However, if you are confident that you can carry out the checks yourself then read on:
Clean the bike with warm soapy water using a sponge, and if also using cloths be very careful not to get them caught in the cables or gears, then wash off thoroughly with clean water.
Getting rid of the dirt and grime will make it much easier to spot any potential problems.
Firstly, look for any signs of physical damage or areas which may have become rusty, if you notice rust on the chain or cables you will need to replace them.
Brakes and pads
Probably the most important component of the bike, the braking system must work properly.
Look at the pads, these are the rubberised components that push against the metal wheel rim; these wear down with use and will need to be replaced over time.
If you notice an uneven wear or a ridge developing on the pad you will need to have your brakes adjusted and if the pads show excessive wear they should be replaced immediately.
If the pads look in good order squeeze the brake lever and observe the movement of the brake pads, they should both touch the wheel rim at the same time. If they do not then adjust them with the tension screw which is normally located on one of the brake lever arms (close to the tire).
If there is excessive slack in the cable when pulling the brake levers then rotate the barrel adjuster at the far end of the lever (where the cable enters the casing) to add more tautness to the cable, this will make the brakes respond quicker.
Never risk riding if your brakes are in a poor condition or do not work properly as this can lead to very serious injury; if you cannot service the brakes yourself take the bike to a shop to be professionally fitted or repaired.
If you notice a problem with your brakes whilst riding try and stop safely, get off the bike and wheel it home (or ring for a lift if you are too far away to walk) – never continue to ride it.
TYres
Pump tyres up, making sure they stay inflated and have good pressure; check the pressure to the manufacturer recommendations, which is usually shown on the side of the tyre wall.
If air is escaping you probably need a new inner tube; it is fairly easy to change a tyre or inner tube yourself but if in doubt your local cycle shop who will be pleased to assist.
Check for tread wear, also any abrasions, cracks or splits in the rubber, again don’t take risks and if you are concerned change both the tire and inner tube.
Screws and Bolts
Check the tension of these, but don’t over-tighten.
Handlebars
If the existing grip tape has seen better days then replace it, not only will it look better but it will also be more comfortable to ride.
Chain
Look for signs of wear, rust or damage – it is always a good idea after storing the bike for a long time to take the chain off and clean it thoroughly.
Always remember to use a good quality lubricant (specifically designed for bike chains) which will help keep it clean and running smoothly.
Quick Checklist
Although it is important to check your bicycle before every ride the first inspection of the year is very important.
- Check the brakes – pull the levers to ensure they work properly, the levers should instantly snap back into place after you let them go.
- Tyres – check for any abrasions, tread wear and inflation.
- Wheels – spin them off the ground to ensure they rotate freely and do not wobble, also they should not rub against the brake pads. Make sure that any quick release mechanisms are secure.
- Check the headset – the headset is the small tube at the front of the bike which connects the forks and frame. The handlebars are located into this tube to enable steering. Apply the brakes and gently tilt the bike back and forward (the rear wheel will raise up and down) – if you hear any clicking this is the sign of a loose headset – tighten if required.
- Drop the bike – what? – don’t worry, just raise your bike a few inches off the ground then let it drop – any rattling or unusual noises should be examined.
Now get out there and enjoy your bike!


